Phone and laptop repair in Revelstoke.
If your screen is cracked, your battery won't last or your laptop won't start, we can help. We'll check the device, explain your options and quote the repair before you decide.
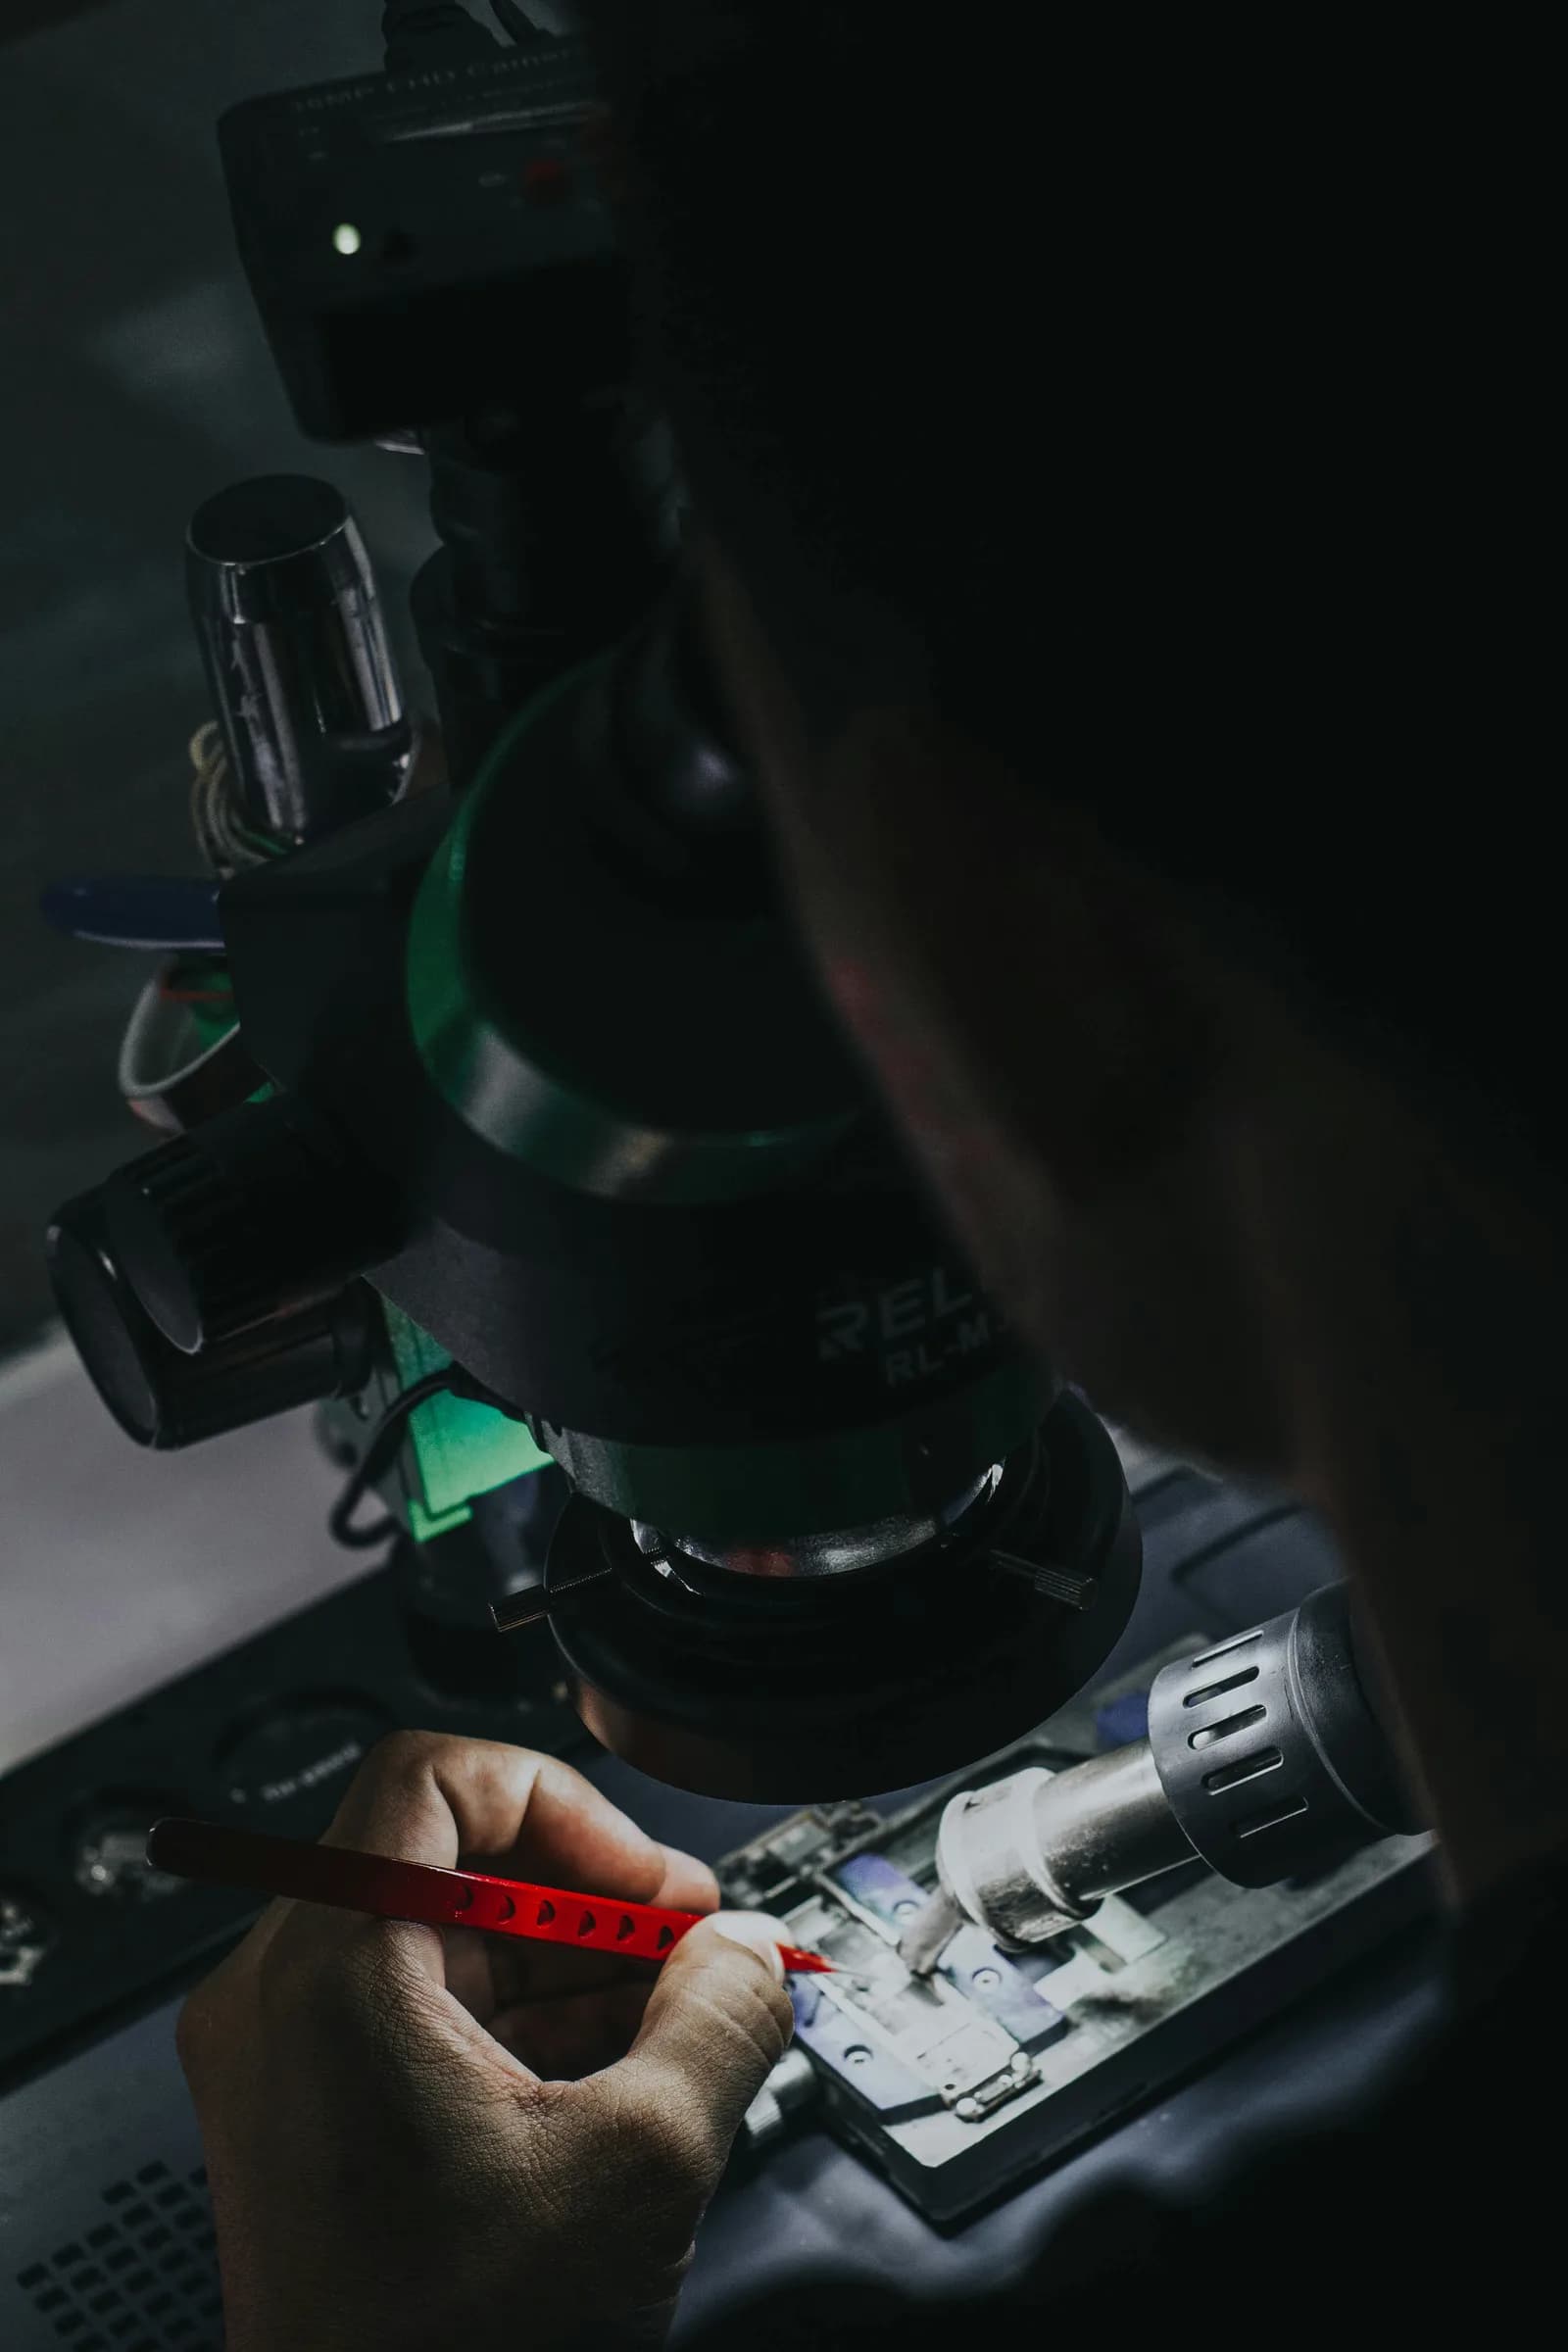
- Diagnostic
- $55 diagnostic, waived if you approve the repair
- Water damage
- $100–$150 treatment instead of the $55 diagnostic
- Quotes
- A simple repair quote by phone or email costs nothing.
- Typical repairs
- 1–2 days: screens, batteries, charging ports and similar repairs
- Board-level
- 1–4 weeks: board-level work, water damage and severe damage. No repair, no fee on board-level work
- Warranty
- 90-day warranty on every repair — longer on screens and batteries
- Mail-in
- Mail-in repair across Canada
- Shop
- 103 2nd St E, Revelstoke, BC V0E 2S0
- Hours
- Mon–Sat 11 AM–5 PM · Sun closed
- Seasonal
- Oct 1–Nov 30: closed Saturdays; some Mondays too, call ahead
- 90-dayWarranty on every repair
- 1–2 daysTypical repairs (screens, batteries)
- $55Diagnostic, waived if you approve the repair
- Canada-wideMail-in repair across Canada
Support for your devices and your business.
Alongside phone and computer repairs, we look after business networks and build automations for everyday work. Choose a service to see how we can help.
All repairsPhone repair
We replace screens, batteries and charging ports on iPhone, Android phones and tablets, and assess liquid damage. Typical repairs — screens, batteries, charging ports and similar — take 1–2 days.
Laptop repair
We repair MacBook and Windows laptops, from screen and battery replacements to liquid damage and storage upgrades. SSD upgrades typically take 1–2 days once the parts arrive.
Microsoldering and board-level repair
Microsoldering repairs tiny components on the logic board, your device's main circuit board. We offer board repairs, storage upgrades and data recovery for iPhone, iPad and MacBook. No repair, no fee on board-level work.
Managed IT and networking
We look after Microsoft 365, backups, Wi-Fi and security, with ongoing monitoring and software updates. When you need help, we provide remote support or visit you in Revelstoke.
AI and business automation
We build AI receptionists, website chat and workflow automation to help with enquiries, bookings and repeat admin. We connect the tools to your software and maintain them as you use them.
Mail-in repair
Mail-in repair across Canada — send a request, we review it within one business day, and approved requests get a prepaid Canada Post label by email.
Get help with calls, bookings and repeat admin.
RevyTech AI — the AI systems division of RevyTech. If your team is answering the same questions or copying details between apps, we can help you work out what to automate. We build and maintain the systems.
- Answer calls and take bookingsAn AI receptionist can answer common questions and arrange appointments, with a way for callers to reach your team.
- Automate routine follow-upsWorkflow automation can send quote follow-ups, request reviews and prepare reports using the process you agree on.
- Connect your softwareSystems integration moves booking, accounting and customer information between apps, reducing repeat data entry.
- Who
- The same team as RevyTech, in Revelstoke, BC
- Builds
- AI receptionists, website chat, company knowledge assistants, bookkeeping automation, systems integration
- Handoff
- Assistants identify themselves as AI and offer a way to reach a person
- Care
- Monthly monitoring, adjustments and a report on your systems
- Start
- A 20-minute call to look at your work and assess where AI could help
See what goes into a repair.
Choose a repair to see what we check, how we do the work and why each step matters. Details vary by device. Step times are time at the bench; turnaround is how long to allow for the repair.
Screen replacement
iPhone / Android · Routine
Turnaround1–2 days for screens, batteries, charging ports and similar repairs
- Step 1: Prep · 5 min
Check the device's condition
We record the device's condition, including visible scratches and dents. You get a copy of the intake notes.
- Step 2: Diagnose · 5 min
Test the display
We check touch response, brightness, colour and supported features such as Face ID. Recording what works before the repair gives us something to compare with the final checks.
ToolsDisplay tester, light probe
- Step 3: Repair · 10 min
Open the display
We use controlled heat to soften the adhesive and carefully separate the display from the frame. The opening method depends on the model.
ToolsHeat mat, suction cup, opening picks
Watch out: Heat and opening tools can damage the cables behind the screen. We monitor temperature and work around their position. - Step 4: Repair · 5 min
Disconnect the battery and display
We disconnect the battery to isolate power, then release the display and sensor cables with a plastic opening tool called a spudger.
ToolsPrecision screwdrivers, spudger
- Step 5: Repair · 10 min
Fit the replacement display
We fit the replacement display, reconnect the cables and secure the brackets for your model.
ToolsPrecision torque driver
- Step 6: Test · 10 min
Check the screen and sensors
We test touch, scrolling, the earpiece and your model's brightness and sensor features while the device is still open, so we can check any issues before sealing it.
- Step 7: Repair · 10 min
Seal and close
We apply fresh display adhesive and secure the screen while it bonds.
ToolsDisplay adhesive, clamp
- Step 8: Complete · 5 min
Final check and handoff
We clean the device and record the final checks on your job sheet. Screen warranty coverage: lifetime on premium aftermarket screens (display defects), 90 days on OEM and refurbished screens.
Battery replacement
iPhone / Android · Routine
Turnaround1–2 days for screens, batteries, charging ports and similar repairs
- Step 1: Prep · 5 min
Battery health check
We check how the device charges and read the battery health information available for your model. Capacity shows how much charge the battery can hold; cycle count helps us understand how much it's been used.
Tools3uTools / coconutBattery
- Step 2: Repair · 8 min
Open the device
We open the device using the method for your model and disconnect the battery before removing it.
ToolsHeat mat, precision screwdrivers
Watch out: Cables sit close to the opening on many phones. We support the screen or back cover to avoid pulling on them. - Step 3: Repair · 10 min
Remove the old battery
We release the adhesive holding the battery in place and remove it carefully, without bending or puncturing the cell.
ToolsAdhesive release tools, plastic spudger
- Step 4: Repair · 8 min
Fit the new battery
We secure the replacement battery, connect it and check that no cables are trapped before closing the device.
ToolsTweezers, spudger
- Step 5: Test · 10 min
Charge test
We use a USB ammeter to measure the current drawn during charging, and watch the temperature for signs of a problem.
ToolsUSB ammeter (charging-current meter)
- Step 6: Complete · 3 min
Health report and handoff
We record the battery checks on your job sheet. Aftermarket batteries carry a 1-year warranty; any other battery carries our standard 90-day warranty.
Water damage
Phone / laptop · Specialist
Turnaround1–4 weeks for board-level work, water damage and severe damage
- Step 1: Warning
Don't charge the device
Keep the device off and unplugged until it has been assessed. Trying to charge or power it on can cause further damage.
Watch out: Charging a wet device can permanently damage components. Bring it to us first. - Step 2: Prep · 5 min
Record what happened
Tell us what liquid reached the device and when it happened; those details help us assess the damage. We begin with liquid-damage treatment instead of the standard diagnostic. The treatment adds at least 24 hours to the repair: ultrasonic cleaning, a bath in 99% isopropyl alcohol, then drying overnight.
- Step 3: Repair · 30 min
Disassemble and inspect
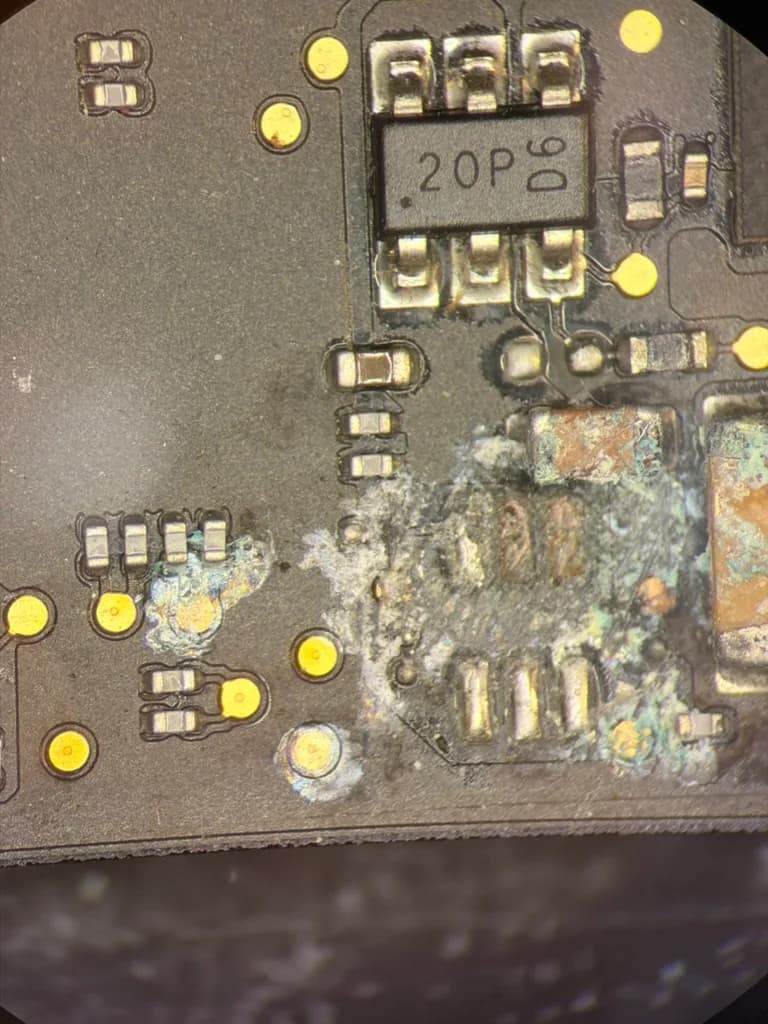
We open the device and inspect the board, battery and other parts for liquid residue and corrosion.
ToolsRepair toolkit, anti-static mat
- Step 4: Diagnose · 20 min
Clean the board
Ultrasonic cleaning uses high-frequency vibration to help lift contamination from the board. After cleaning, we inspect it for remaining residue and damage.
ToolsUltrasonic cleaner
Watch out: Damaged components may still need repair or replacement after cleaning. - Step 5: Prep · Overnight
Isopropyl bath and overnight drying
After the ultrasonic clean, the board sits in a 99% isopropyl alcohol bath, then dries fully overnight before reassembly begins.
Tools99% IPA bath, drying rack
- Step 6: Repair · 1–4 hrs
Inspect and repair under a microscope
Under the microscope, we look for damage to chips, solder connections and traces: the tiny conductive tracks linking components. We repair the affected areas where possible.
ToolsMicroscope, hot air rework station, flux
- Step 7: Test · 15 min
Controlled power-on
A bench power supply lets us limit the electrical current while testing the board. We watch how it draws power for signs of a fault that still needs attention.
ToolsBench power supply
- Step 8: Test · 20 min
Check device functions
We test the device's functions, including wireless connections, cameras, microphones, charging and fingerprint or face recognition where fitted.
- Step 9: Complete · 30 min
Reassembly and report
We reassemble the device with fresh seals and give you a report of what we found, what we repaired and the result.
Logic board
Phone / tablet / laptop · Specialist
Turnaround1–4 weeks for board-level work, water damage and severe damage
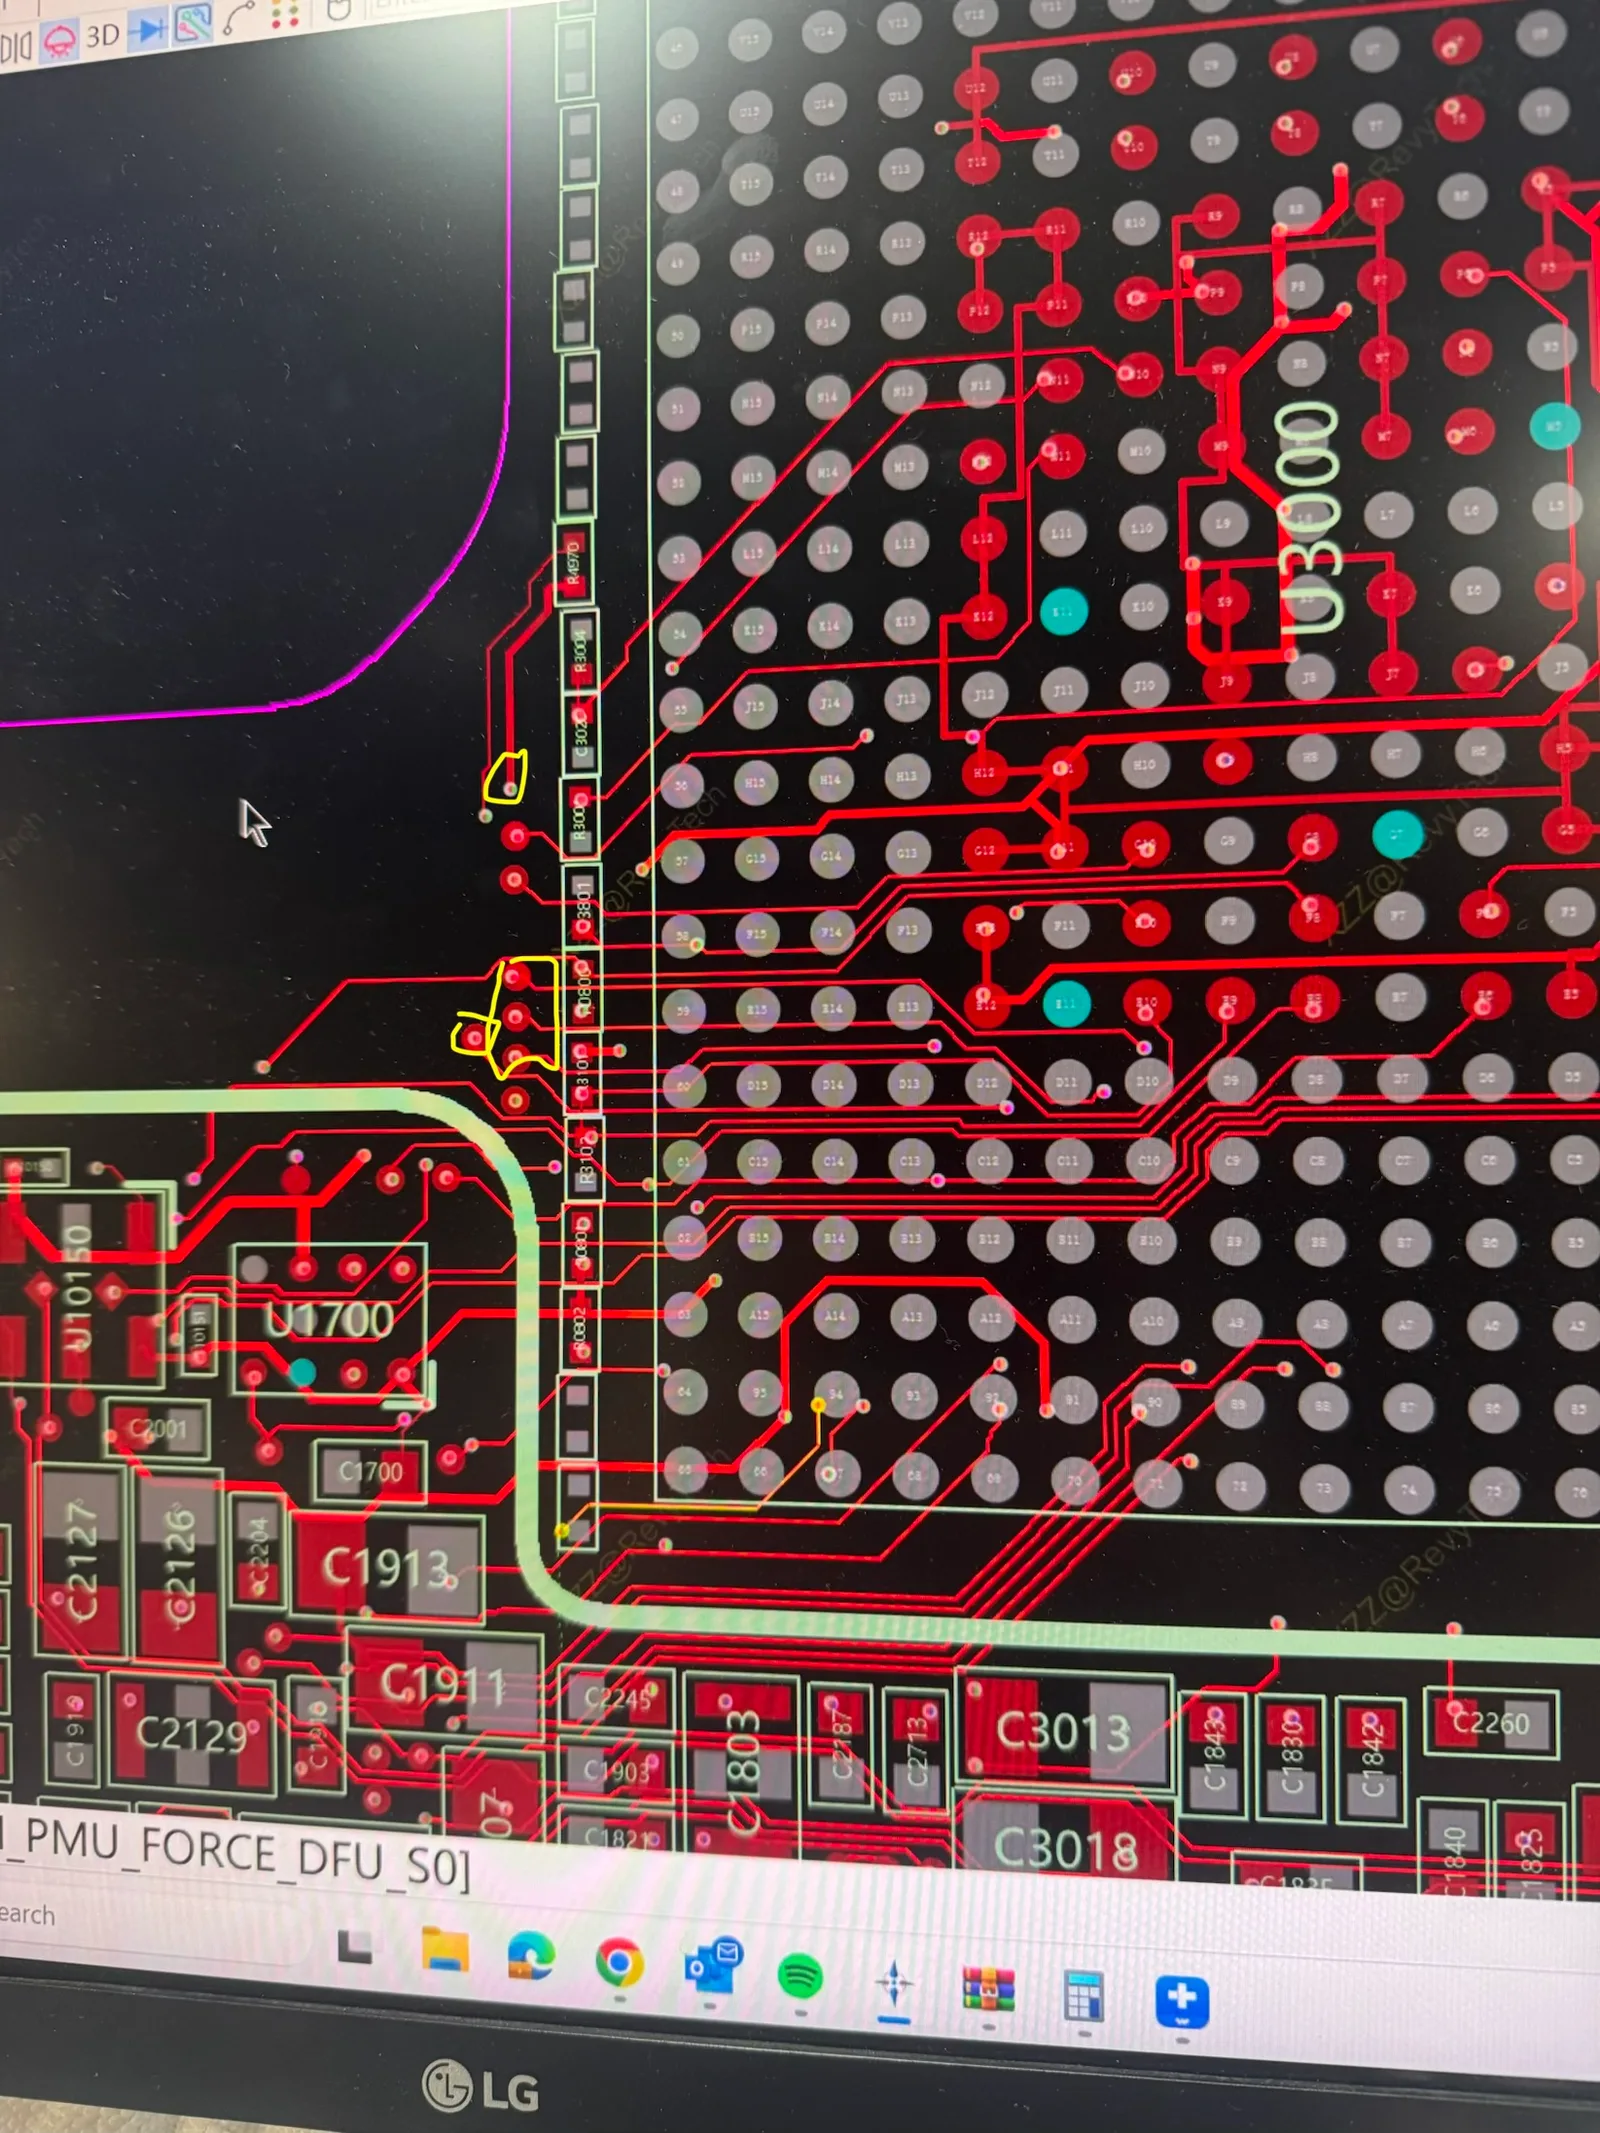
- Step 1: Diagnose · 30 min–1 hr
Trace the circuit
Schematics are circuit diagrams; board views map the components on the physical board. We use both to follow power and signals through the area we're investigating. Board-level work is no repair, no fee: if we can't fix it, you pay nothing. On mail-in repairs, shipping costs still apply.
ToolsBoard schematics and boardview
- Step 2: Diagnose · 30–90 min
Measure and locate the fault
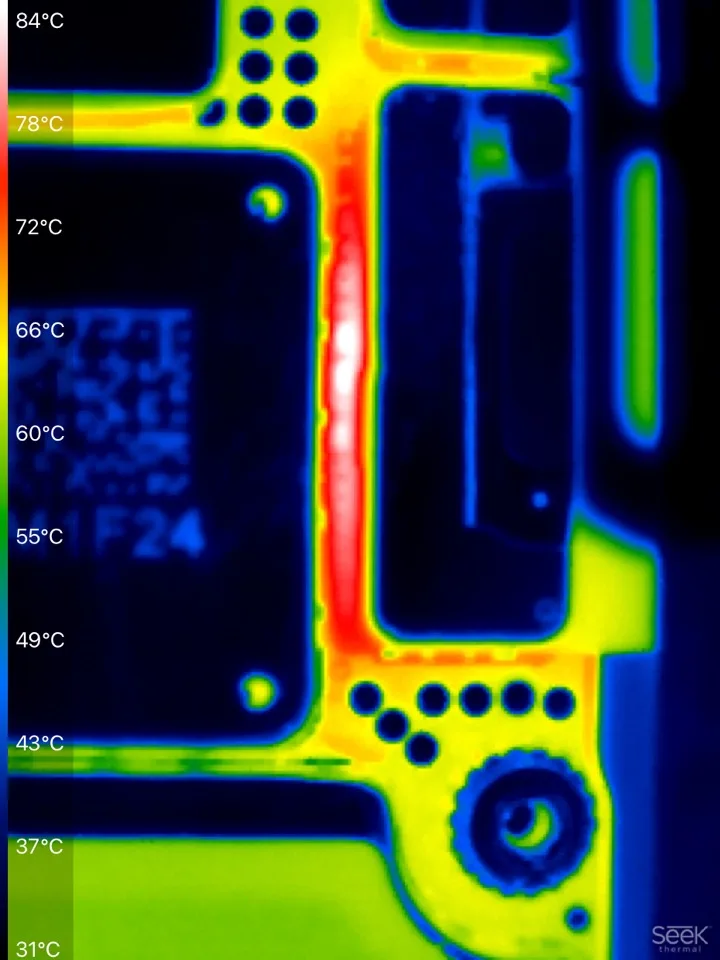
A multimeter measures voltage and resistance at points in the circuit. We compare those readings with how the circuit should behave to narrow down the fault.
ToolsMultimeter, DC power supply
- Step 3: Repair · 15–45 min
Remove the damaged component
We remove the faulty component with controlled heat and protect nearby parts during the work.
ToolsHot air station, heat-resistant tape
Watch out: Board components are sensitive to heat. The temperature and heating time must suit the part and board. - Step 4: Repair · 20–40 min
Prepare the solder connections
We lift old solder with solder wick and clean the connection points. Where needed, we reball the replacement chip: fit the tiny solder balls underneath that will connect it to the board.
ToolsSolder wick, flux, stencil kit
- Step 5: Repair · 15–30 min
Fit and solder the new part
We align the replacement under a microscope, then use controlled hot air to melt the solder and form the connections. This step is called reflow.
ToolsMicroscope, hot air rework station
- Step 6: Test · 10 min
Bench power-on
We use a current-limited supply to check how the board draws power before reconnecting the battery.
ToolsBench power supply
- Step 7: Test · 20–40 min
Test the repair
We test the repaired circuit and the device's functions. For data recovery work, we also check the recovered files.
- Step 8: Complete · 15 min
Repair report and handoff
You get a repair report with before and after photos of the board. The rework carries a 90-day warranty.
Data recovery
Phone / laptop / drive · Specialist
Turnaround1–4 weeks for board-level work, water damage and severe damage
- Step 1: Warning
Stop using the device
New activity can overwrite files that may still be recoverable. Power the device off and bring it in before trying recovery software.
Watch out: Disk repair or recovery software can make recovery harder on a failing drive. - Step 2: Diagnose · 15 min
Check the storage
We read the drive's health reports and check where it has trouble reading data. These checks help us assess its condition without writing new data to it.
ToolsCrystalDiskInfo, DriveDx
- Step 3: Repair · 1–8 hrs
Make a working copy
We copy the readable areas of the drive to healthy storage and use that copy for recovery work. For hard drives and SSDs we do no-open recovery only: we never open the drive itself.
Toolsddrescue, Clonezilla, target drive
Watch out: A damaged drive may not be fully readable. We assess its condition before attempting a copy. - Step 4: Repair · 1–4 hrs
Recover the files
The file system keeps track of where files are stored. We work on the copy to rebuild that information, locate lost files and recover what can still be read.
ToolsR-Studio, PhotoRec, TestDisk
- Step 5: Diagnose
If our software can't recover it
If our recovery software can't retrieve your data, we can send the drive to a professional data recovery centre.
- Step 6: Test · 30 min–1 hr
Check the recovered files
We check the recovered files for damage and give you a list of what was recovered, including any files with problems.
- Step 7: Complete · 20 min
Transfer and handoff
We copy your recovered files to a new drive or USB stick and return the original storage to you. We keep recovered data for 7 days after the job is finished, then delete it.
SSD upgrade
MacBook / PC laptop · Intermediate
Turnaround1–2 days for screens, batteries, charging ports and similar repairs
- Step 1: Diagnose · 10 min
Check the upgrade options
A solid-state drive (SSD) holds your operating system, apps and files. We check your current drive's health and speed, then confirm which upgrades your laptop supports. SSD upgrades typically take 1–2 days once the parts arrive.
ToolsCrystalDiskInfo / DriveDx
- Step 2: Prep · 30–90 min
Back up your files
We make and verify a backup or full copy of your drive before starting the hardware work.
ToolsTime Machine / Carbon Copy Cloner
Watch out: We won't go ahead without a verified backup. - Step 3: Repair · 15–30 min
Replace the drive
We remove the old drive and fit the new SSD. MacBooks with soldered storage need board-level work instead; we confirm which applies before you book.
ToolsPentalobe / Torx screwdrivers
- Step 4: Repair · 30 min–1 hr
Set up the operating system
We install macOS or Windows on the new drive and restore your files from the backup as needed.
ToolsUSB installer, Migration Assistant
- Step 5: Test · 5 min
Measure the speed
We record read and write speeds on your job sheet so you can compare the new drive with the old one.
ToolsBlackmagic Disk Speed Test / CrystalDiskMark
- Step 6: Complete · 10 min
Return your old drive
Your old drive comes back to you in an enclosure for use as a backup. The upgrade carries a 90-day warranty.
- Diagnostic
- Diagnostics are $55, waived if you approve the repair. A simple repair quote by phone or email costs nothing.
- Water damage
- Water-damaged devices get a liquid-damage treatment instead of the $55 diagnostic: $100 for phones, $150 for laptops.
- Turnaround
- Typical repairs take 1–2 days. Board-level work, water damage and severe damage take 1–4 weeks, depending on severity and parts availability.
- Warranty
- 90-day warranty on every repair — longer on screens and batteries. Read the warranty terms
Refurbished devices, checked at our bench.
Refurbished phones and laptops, plus accessories and parts. Check the condition and specifications in each listing to compare your options, or get a quote for the device you're replacing.
Shop the store- PhonesRefurbished phones, tested in our shop
- LaptopsRefurbished laptops, tested in our shop
- AccessoriesCables, chargers, cases and more